
Setup guide
Setting up The Stand
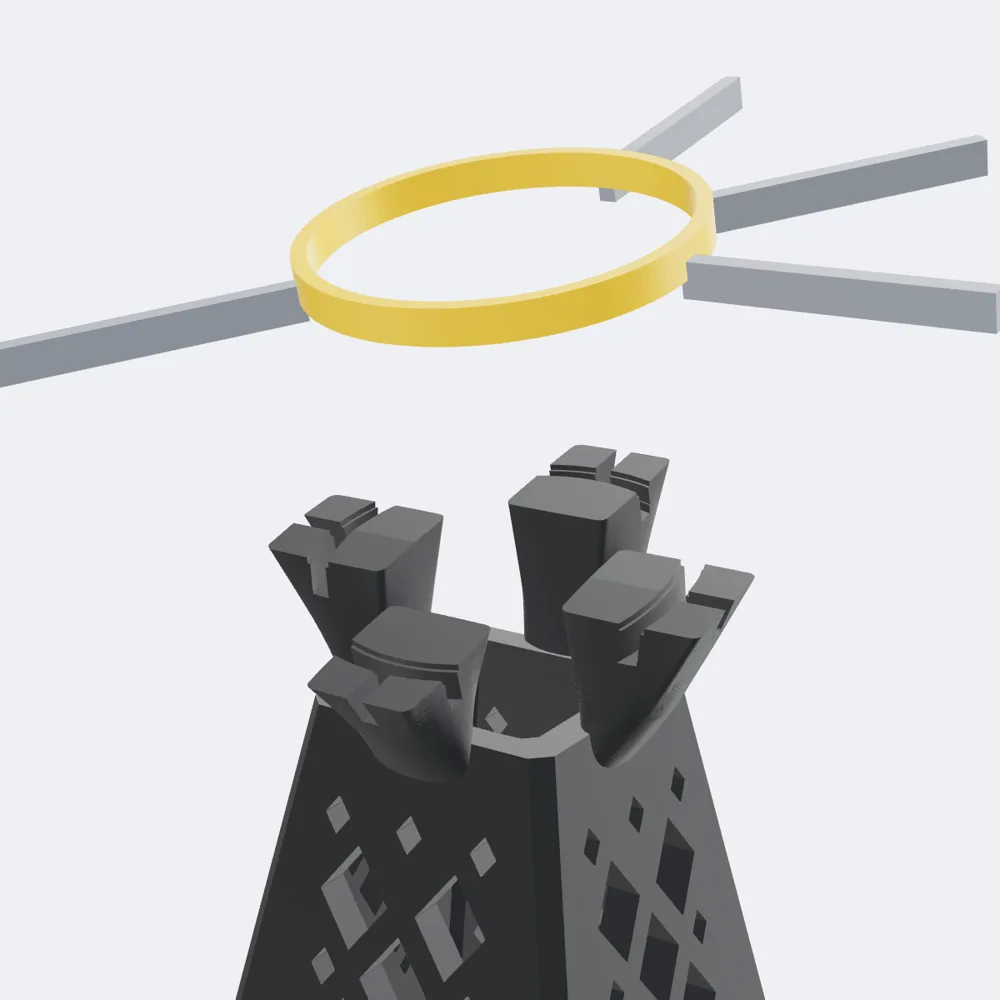
No tools and nothing to clip. The crown on each stand is shaped to drop into the circle on the underside of a Zion case. Here’s exactly how the fit works.
How the fit works
The crown goes into the circle.
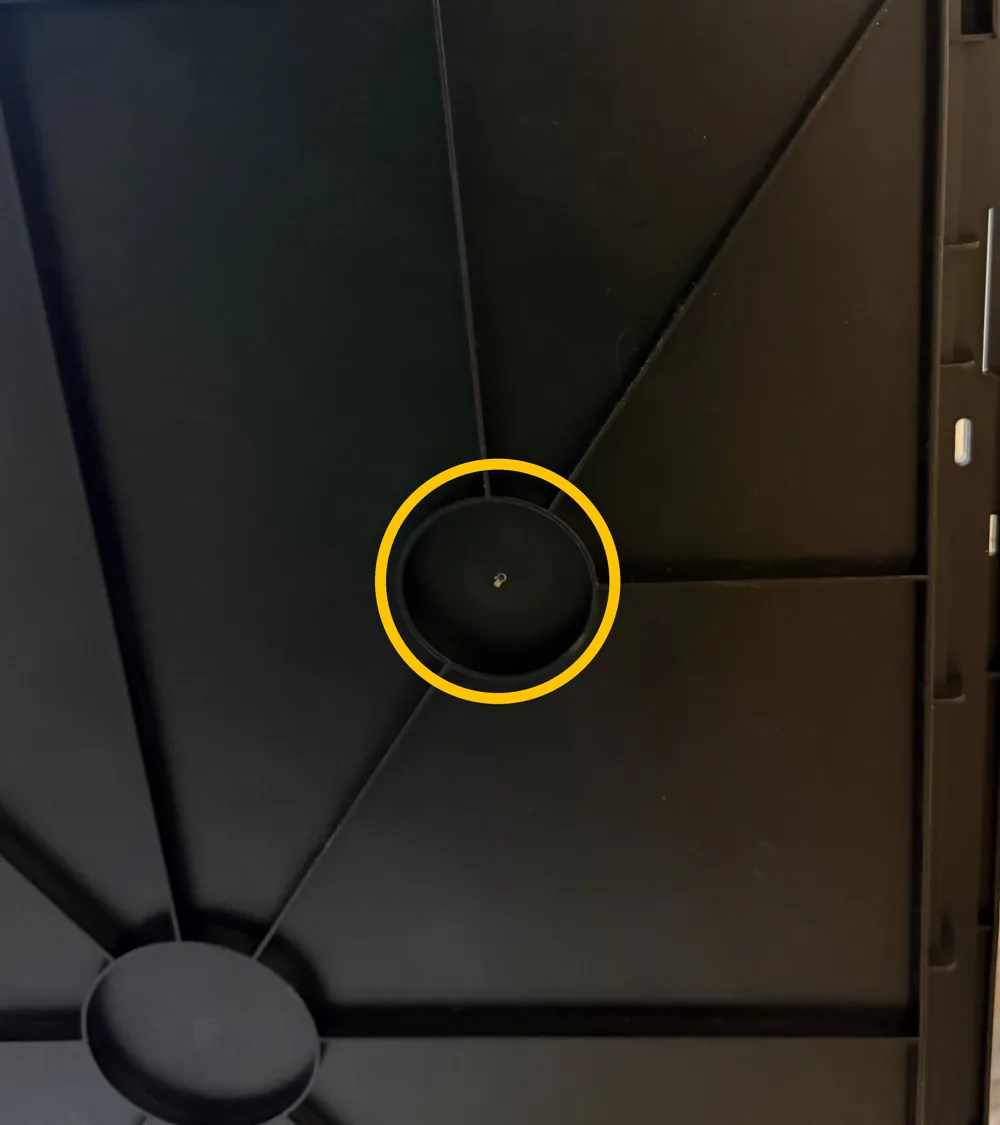
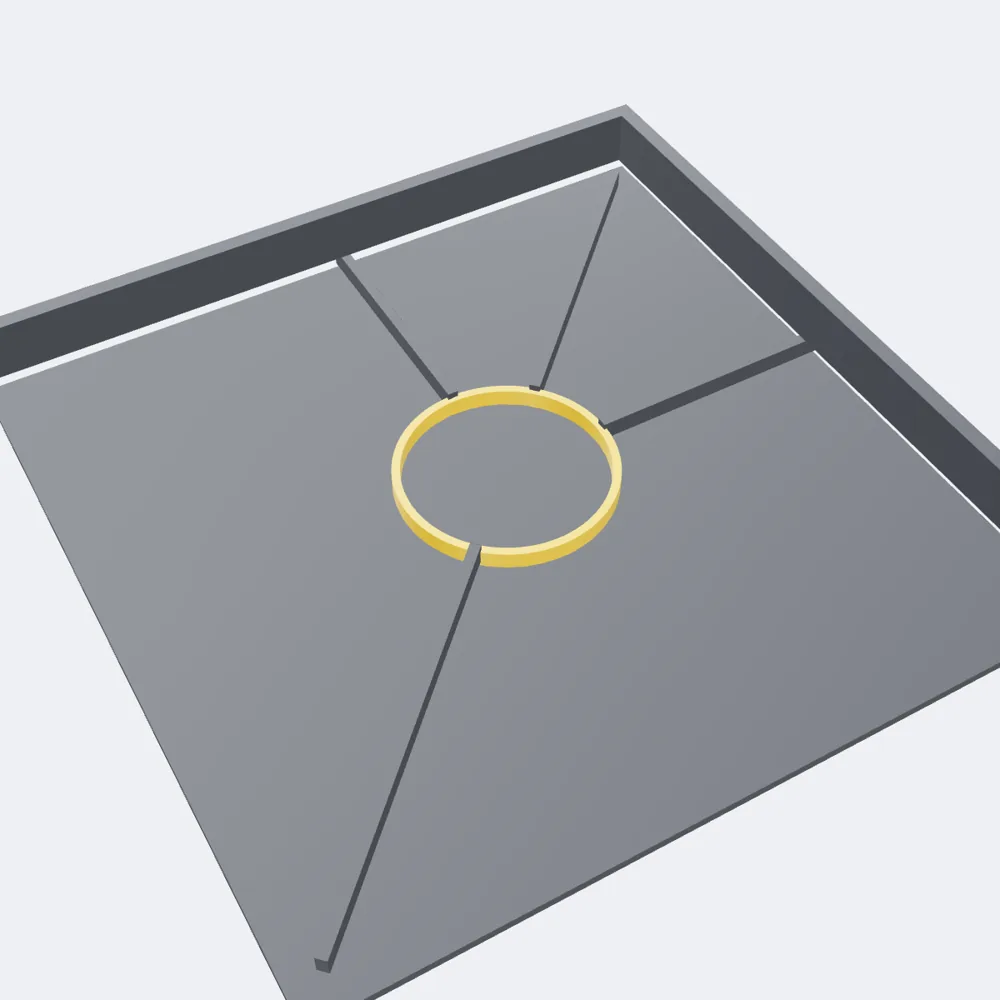
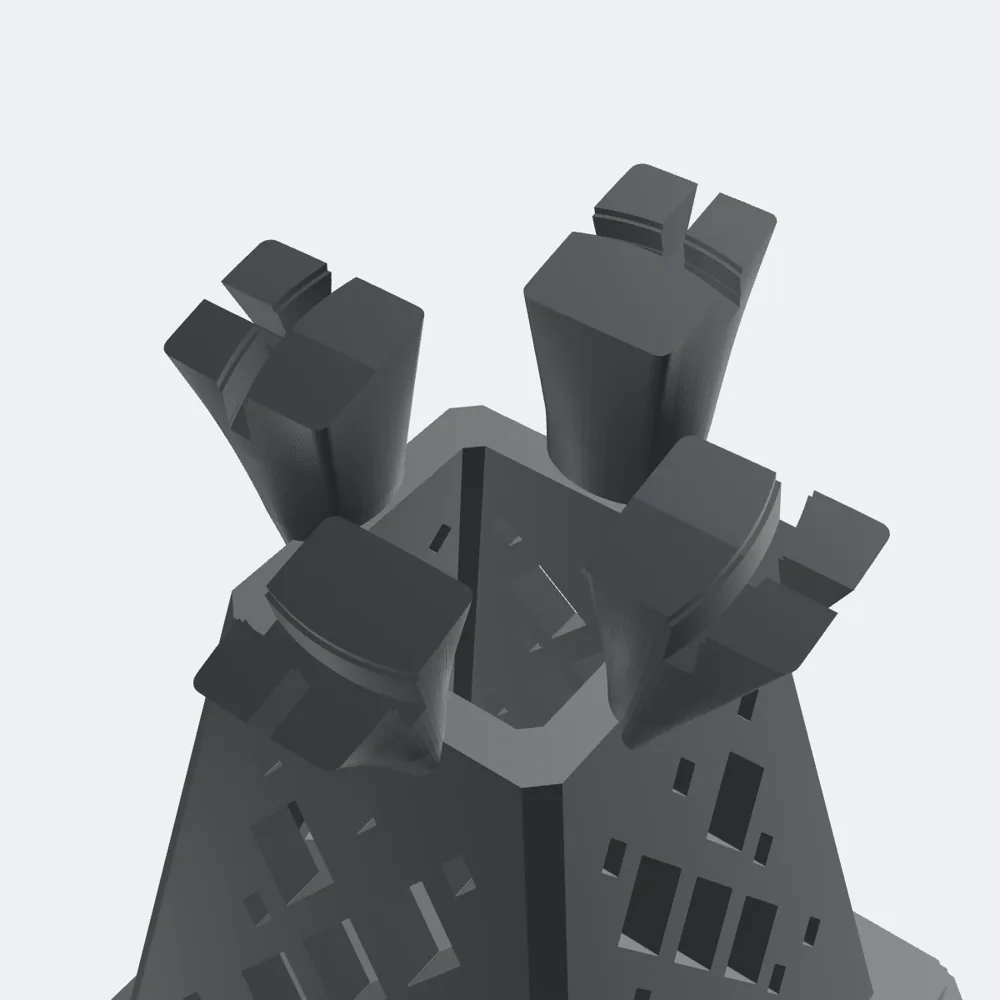
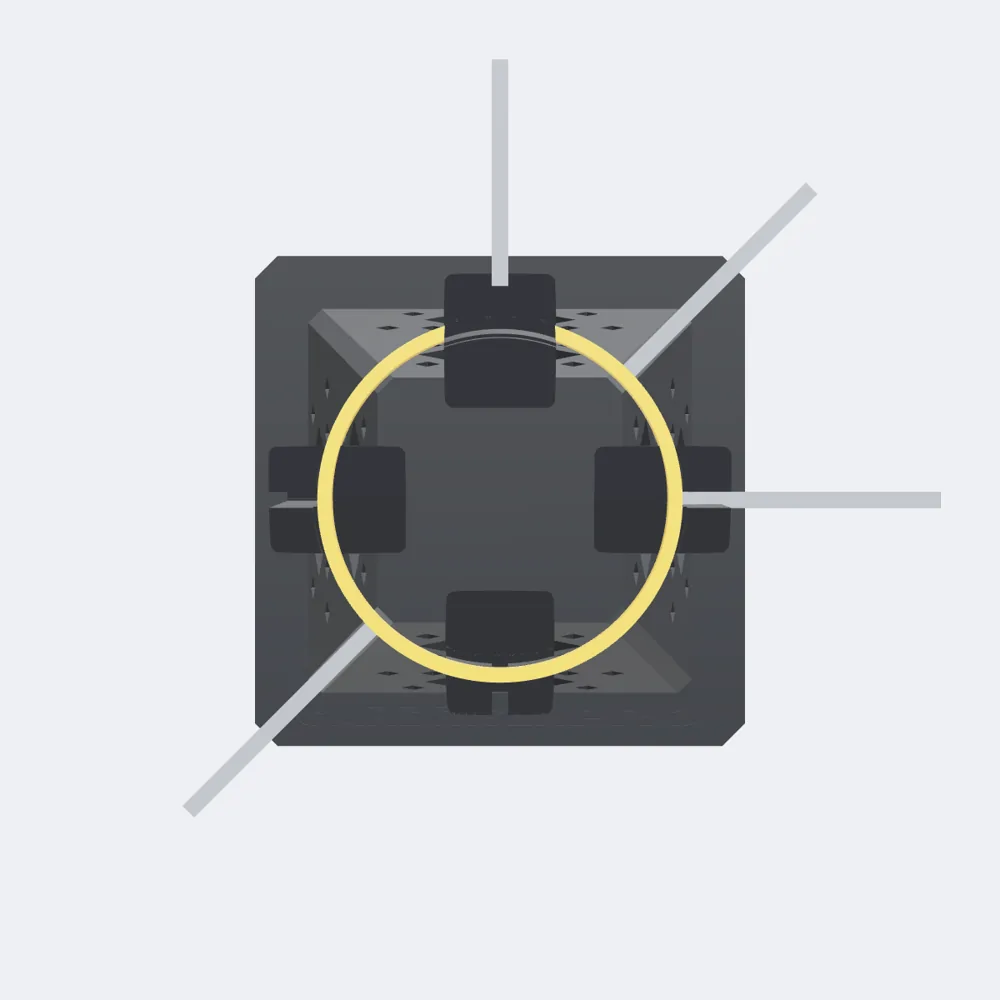
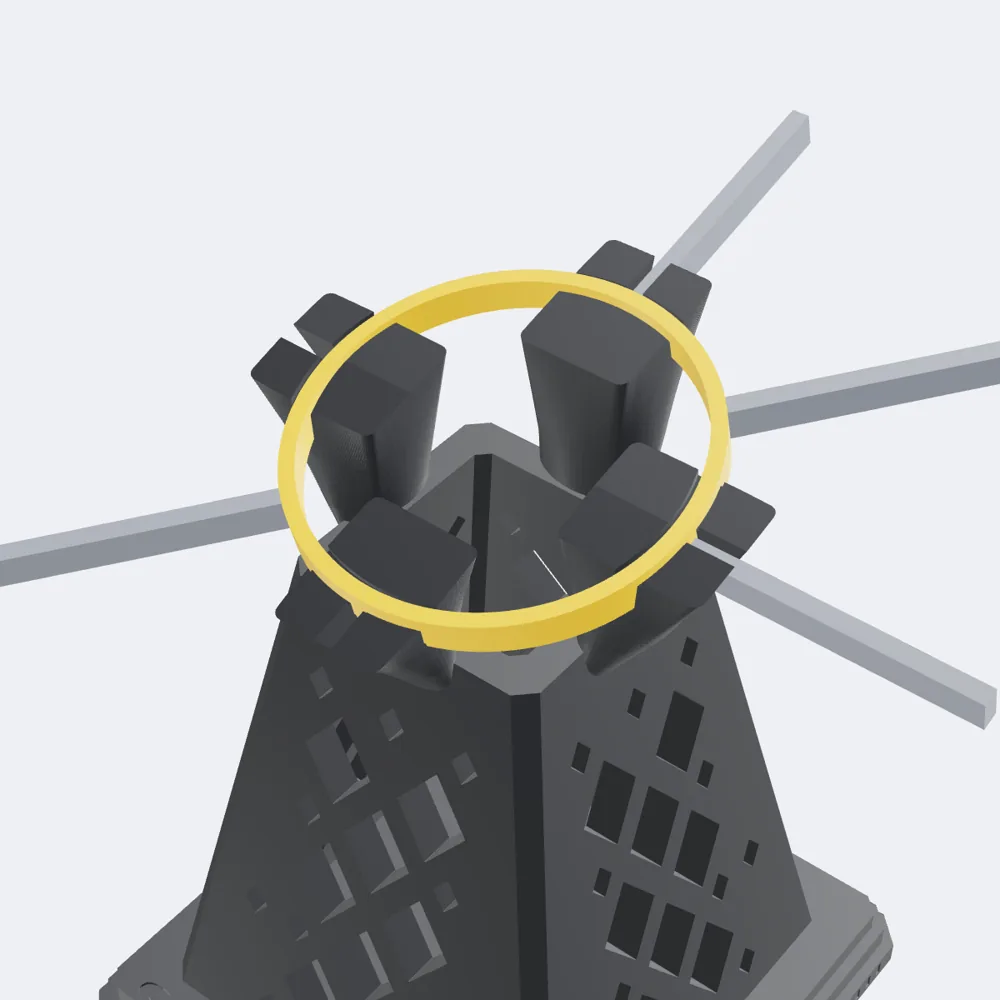
Every Zion case has a raised circle molded into the bottom near each corner, with ribs running out of it. The four fingers on top of the stand are cut to catch that circle and two of those ribs. The deep, ribbed grooves and the weight of the case keep it locked in, even through heavy table bumps and moves.
 Render
 Render
 Render
 Render
 Render
Step by step
Under a minute per case.
Flip the case and find the two back rings
Turn the empty case over. Near each corner there is a raised circle with ribs running out of it. Use the two circles at the back corners, the edge that will face you behind the table.
Logo to the front
Stand each stand on the table with the CardRiser Pro logo facing the front of the case, toward the buyer. The crown is cut lower on the logo side. Turned around, the case will not sit flush.
Line up the slots with the ribs
Each of the four fingers has a curved groove for the circle and a straight slot across it. Turn the stand so the back finger’s slot lines up with the rib running to the back edge and the side finger’s slot lines up with the rib running to the side edge.
Lower the case straight down
Set the back of the case down so the circle drops into the grooves on all four fingers and the two ribs drop into their slots. The front edge of the case stays on the table.
Check it sits flush
Press lightly on the back corners. The circle should be down in the grooves, not perched on top of the fingers. If a corner rocks, lift it and turn that stand slightly until the ribs find the slots.
Horizontal or vertical
Same stands, same steps. Long side facing the aisle sits at about 16°; short side facing the aisle sits at about 13°. Use the two rings on whichever edge is at the back.
Locked in
The grooves are deep and ribbed, and the case’s own weight presses it down into them. Once it’s seated, it stays put through heavy table bumps and moves.
Taking it down
Lift the case straight up off the stands. Nothing is latched, so they come apart in seconds and pack flat in a bin.